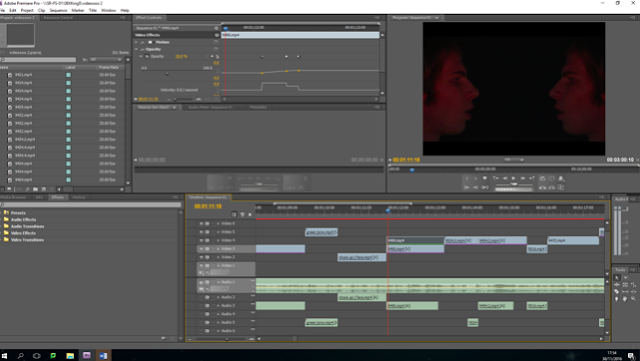
When editing my video, I used a clip which showed the actor lip-syncing at his side profile. However I didn't like the fact that there was a lot of empty space on the other side of him. Therefore I decided to copy the clip, flip it horizontally and layer it on top of the other clip. However at first this couldn't be seen; so I then had to change the opacity of one of the layers so that it was lower. This then allowed for both clips to be seen at the same time. I like the effect of this because it makes it look as if the artist is singing at himself and it makes the footage more engaging and interesting.

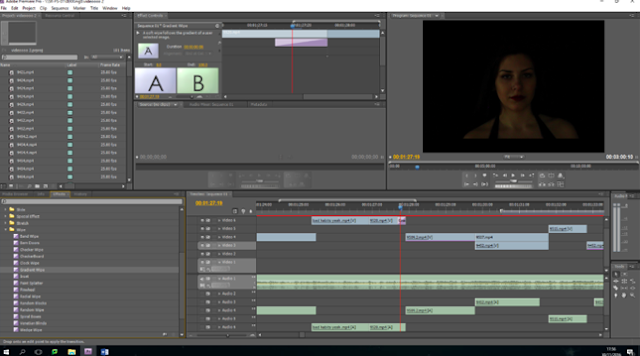
I decided that I wanted to use some transitions in my video to make the footage more interesting. I clipped the transition 'gradient wipe' to the clip just before the chorus started. I thought that this would a good place to put the transition as it almost portrayed the move from the verse to the chorus. I made the transition shorter because I wanted to make sure that it still went in time with the pace of the song like the rest of the footage.

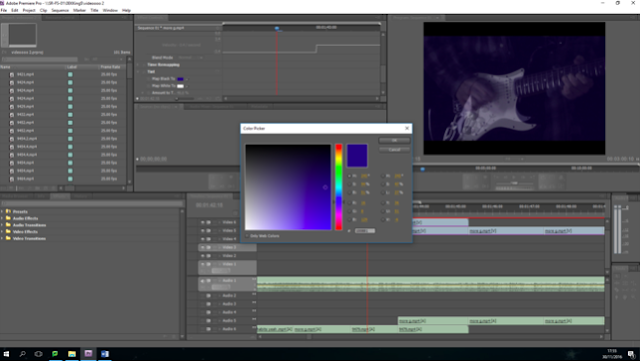
When filming my video I knew that in the guitar solo I wanted to layer different clips of the same section over one another, therefore I filmed it at different zoom lengths. I then did this on Adobe Premier Pro, however I found that it wasn't particularly noticeable what I had done. Therefore I decided to add colour tints to the footage and make each one a different colour so that they would stand out. I add the tint option to each clip and chose red, black, black and white as well as green. Im happy with the outcome of this because it highlights the different layers of footage and also makes the video more eye-catching.
No comments:
Post a Comment